Yes—most 3D wooden puzzles can be painted, and it’s a great way to personalize the finished model or highlight small details. The key is using the right paint and prepping the wood so color goes on smoothly without swelling the pieces or making joints too tight. You can paint before assembly, after assembly, or a mix of both depending on the design and how much of the surface will be reachable once it’s built.
Acrylic paint is the most popular option because it dries quickly, has low odor, and works well on unfinished wood. For a translucent look that keeps the wood grain visible, water-based stains or tinted washes are a good fit. Spray paint can also work, but it’s easier to over-apply and accidentally thicken tabs and slots, so light coats matter.
Before committing, paint a spare piece or a hidden area. Many 3D wooden puzzles rely on friction-fit connections, and even a thin layer of paint can change tolerances.
Gently sand flat surfaces with fine-grit sandpaper to reduce fuzz and help paint adhere. Wipe off dust with a dry cloth so it doesn’t mix into the paint.
Primer improves coverage, especially for bright colors, but it adds thickness. If joints are already snug, skip primer on tabs, pegs, and slot edges.
Multiple thin coats beat one heavy coat. Let each layer dry fully to avoid tacky parts that stick together during assembly.
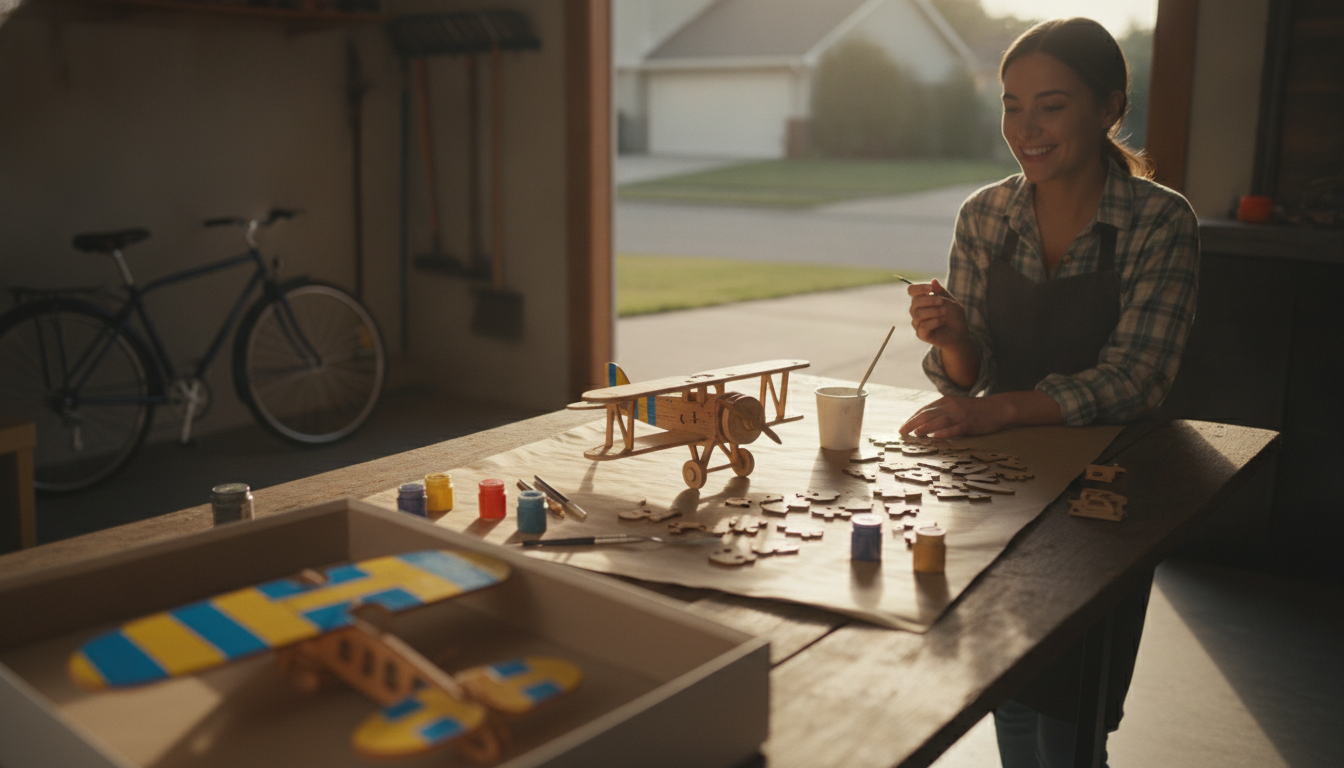
Painting before assembly makes it easier to reach every surface and keep brush marks controlled. Painting after assembly helps maintain cleaner joint fit, since you can avoid paint buildup on connection points. A practical approach is to paint decorative faces pre-assembly and leave tabs/slots bare, then touch up once built.
For more tips, materials, and step-by-step guidance, visit the full guide: https://excluser.com/can-you-paint-d-wooden-puzzles/.
Sealing is optional, but a clear topcoat can protect paint from scuffs during handling. Choose a thin, water-based varnish (matte or satin) and avoid flooding joints so pieces don’t bind.


Leave a comment